With the implementation of online passport making through the Public Service Portal of the Ministry of Public Security, people can save time and effort when performing this procedure. Besides, by making a passport online, people can easily track the progress of completing their application and receive a passport at home without having to go to the immigration agency. Everyone can refer to the Instructions for making a passport online and receive it right at home for more details.
Although the process of completing the passport application is quite straightforward, a problem many users encounter is uploading invalid 4×6 portrait photos. In this article, let's learn how to fix some common errors when downloading portrait photos for passport use online.
How to fix some errors when downloading portrait photos for passport use online
- Requirements for portrait photos to make an online passport
- How to fix some errors when downloading portrait photos for passport use online
Requirements for portrait photos to make an online passport
According to the requirements of the Ministry of Public Security, portrait photos uploaded for passport purposes will need to satisfy the following requirements:
- Recent photos (no more than 6 months old).
- Image ratio: width x length = 4×6.
- The proportion of the face area accounts for about 75% of the image area.
- The height from the eye to the top edge of the photo is approximately 2/3 of the height from the eye to the bottom edge of the photo.
- Face looks straight, exposed ears, bare head, no colored glasses.
- White background.
- Minimum resolution 300dpi.
- File format jpeg 2000.
How to fix some errors when downloading portrait photos for passport use online
Gray image background error
Many people encounter the situation where they have taken portrait photos with a white background but when downloading the photo, the gray background error still appears. This may be because the photo is not bright enough to be accepted by the scanner.
To overcome this situation, people can use the feature Fix in Image available on iPhone to increase photo brightness. This will help the image have brighter colors, no gray cast, and a clearer white background.
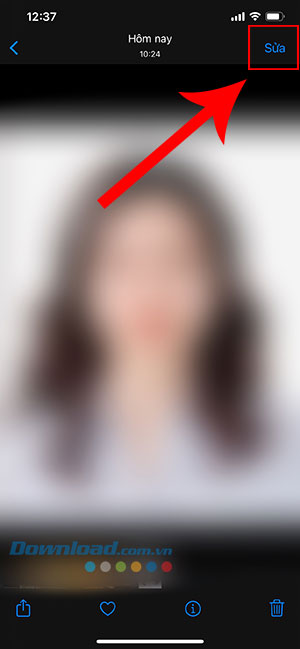
First, open your portrait photo in the photo library on iPhone, press the button Fix in the top right corner.
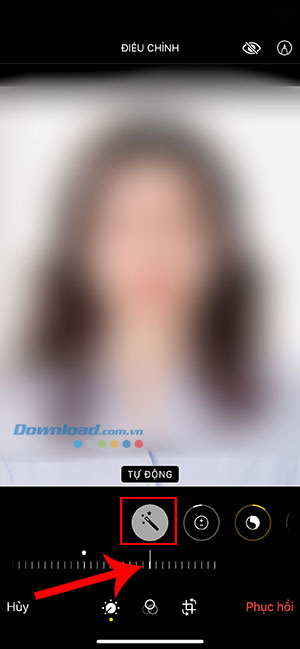
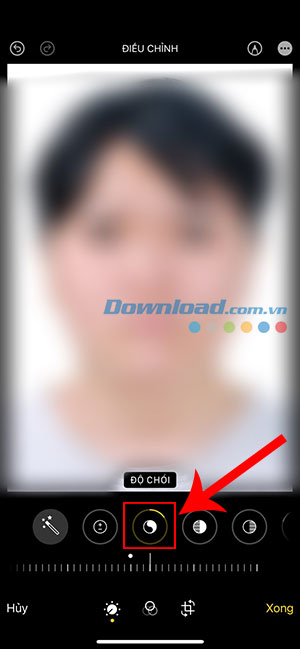
In section Automatic, drag the measuring bar to increase the brightness until you like it. After that, try again on the online passport registration portal to see if the gray background error still occurs. If the error persists, continue adjusting the brightness and try again.
Eye distance error
Another error that online passport applicants encounter is eye distance. In essence, this is due to the error in the uploaded image size.
To fix this problem, people can use some photo editing tools like Photoshop, Paint,… and change the size of the photo to 480×640 (pixels).
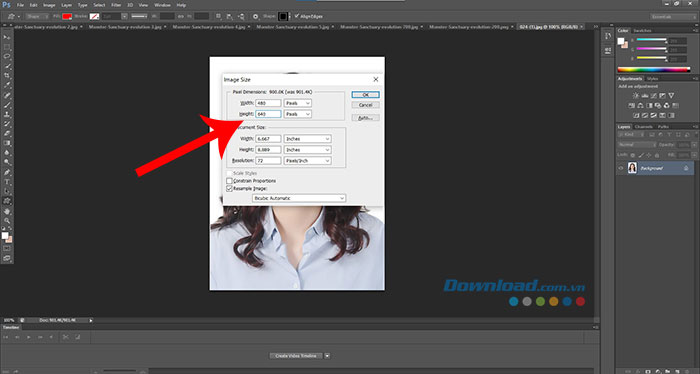
This will be the standard size, ensuring portrait uploads are accepted. If the size is smaller, the image will also be invalid.
Image sharpness error
Uploaded portrait photos need to be sharp because this is the photo that will be printed on the passport, so everyone should use image sharpening software, or a tool to change the photo's DPI to improve quality. Everyone can refer to TOP effective image sharpening applications on the phone to increase image sharpness.
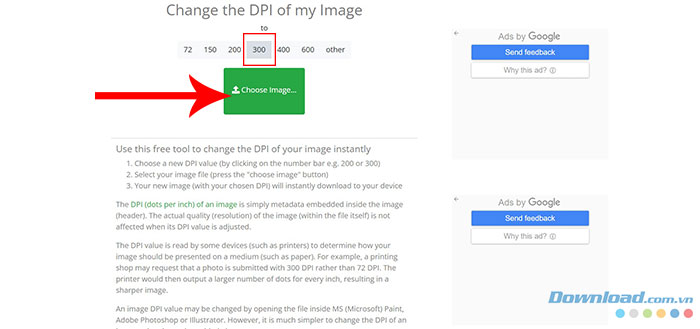
Also to change photo DPI, visit DPI Convert Online tool press the button Choose Image to upload your photo and select 300.
The face contrast error is not satisfactory
This is another common error when uploading portrait photos for passport use. Errors in poor facial contrast can be due to people's faces being too white or pale. This results in there being no clear distinction between the white background of the photo and the skin, causing the scanner to not accurately identify the passport subject's face.
To fix this situation, similar to the gray image background error, people can use the feature Fix in Photo library of iPhone to adjust the contrast level of portrait photos. After editing, the white background and facial skin will have a clear distinction.
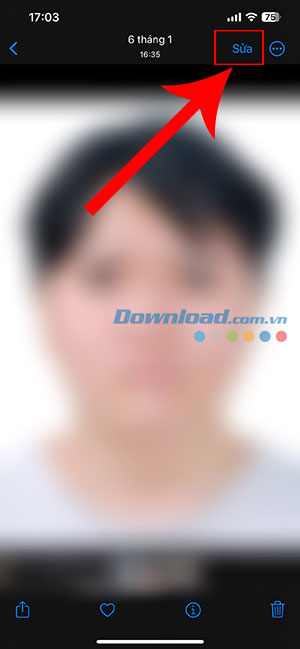
First, everyone needs to open a 4×6 portrait photo that will be used as a passport photo, then press the button Fix in the top right corner.
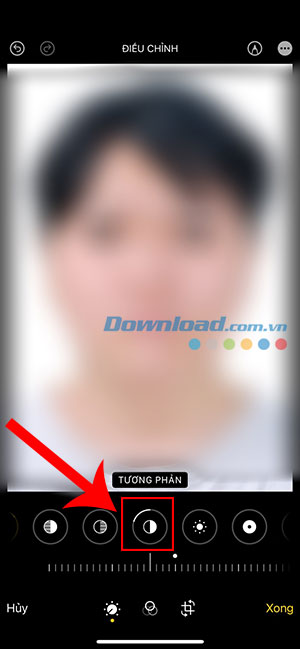
From the tools this feature provides, select Luminance and drag the measuring bar to the left to increase glare of photo. Continue choosing Contrastthen drag right to Reduce glare.
Finally, try reloading and see if the portrait photo meets the requirements. If the error message still appears, continue to adjust the Luminance and Contrast sections, then try again.
Use an app to edit card photos
With the development of technology, people can fix most errors with their passport photos by using photo capture and editing applications on their phones. Everyone can search passport. passport, ID Photo,… on the App Store and Google Play Store to download applications for taking and editing card photos, passport photos,…
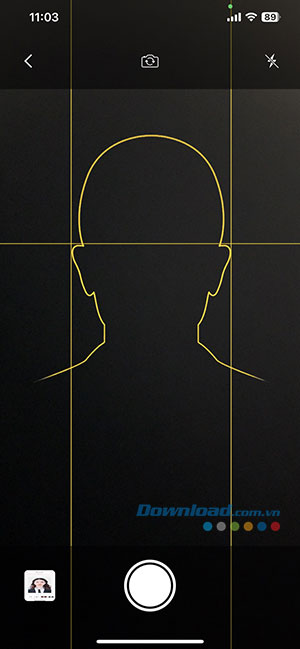
For example, user ID Photo&Passport Maker (ID Photo – passport photo) can take photos directly in the app with pre-defined borders to align the photo subject.
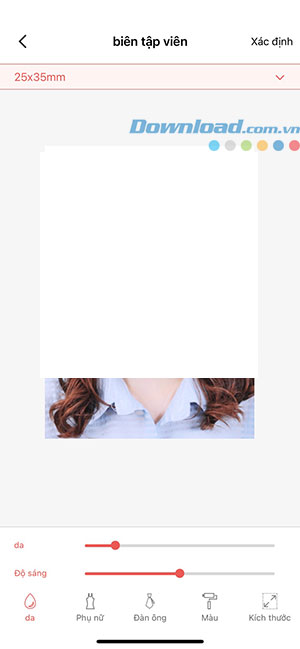
In addition, the application also has editing features to make card photos more beautiful, smart background removal and integrates 100 historical costumes to combine into photos. Costumes are divided into many categories such as students, children, employees, suitable for all types of users.
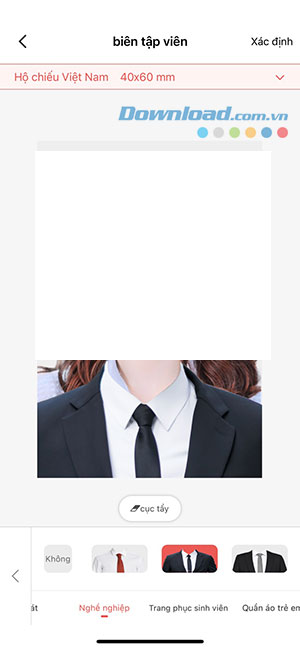
Most notably, the app also has photo size information available for more than 160 types of passports, visas and licenses from countries around the world.

By using applications for card photos and passport photos, people can fix most errors when uploading passport photos online on the Public Service Portal of the Ministry of Public Security.
Using the card photo app ensures high image definition and correct size and format according to regulations while still looking beautiful thanks to the smoothing and whitening features, appropriate saturation and contrast.