Apple’s Family Sharing feature allows users to share photos and videos they take on their iPhone. By creating a shared album and then inviting others to view it, everyone can see all of your latest snaps.
In this article, let’s learn how to create a shared Album on iPhone, helping users easily share photos with each other in a separate album without having to perform time-consuming photo sending operations.
Shared Album feature on iPhone
Shared albums are a feature of the Photos app on iPhone that allows photos and videos to be shared with select people. It can work both with and without iCloud. Users can share albums with anyone simply by adding their email address, contact number or iMessage phone number.
That person will receive suggestions to share a group photo that includes anyone who is a member of your shared library. If you do so, shared items will pop up in each person’s Photos app so they’re always available. Other members can view, edit, favorite, and delete photos or videos in the shared library, and even add their own photos and videos.
How to enable Shared Albums on iPhone
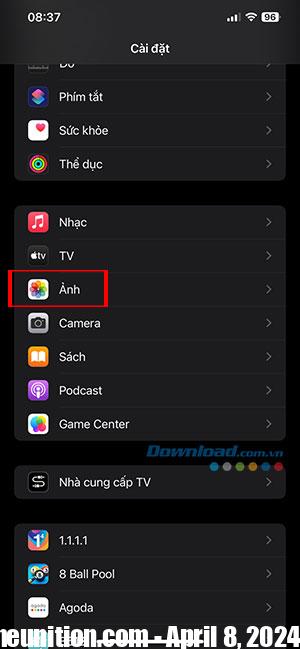
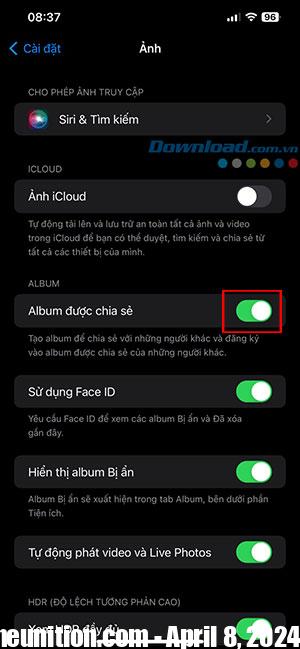
Before people can share any type of photo album, they must first make sure shared albums are turned on, with these steps: Tap Setting on iPhone > select Image > move the slidert Shared albums to on/green.
How to share existing albums on iPhone
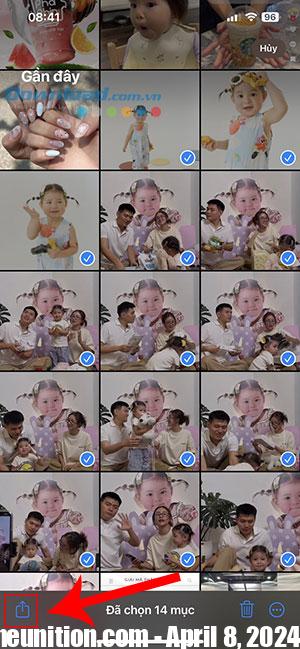
Step 1: Go to Photos library on iPhone, tap the button Select in the top right corner and get started Select all the photos and videos you want to add Go to Shared Album.

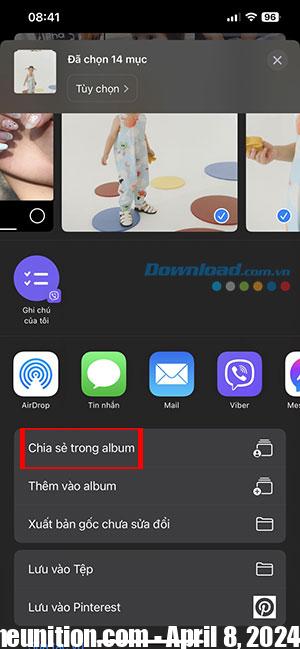
Step 2: Then touch Share icon in the bottom left corner. At the share menu, click Share in Album.
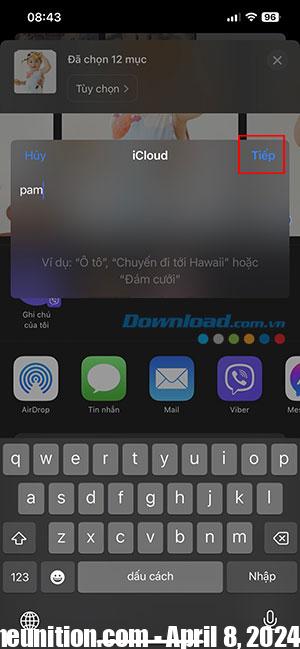
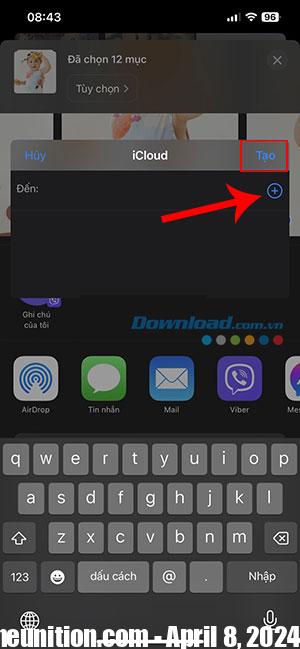
Step 3: To name for albums share and tap Next. Touch plus to add people who want to provide access to the Shared Album and tap Create.
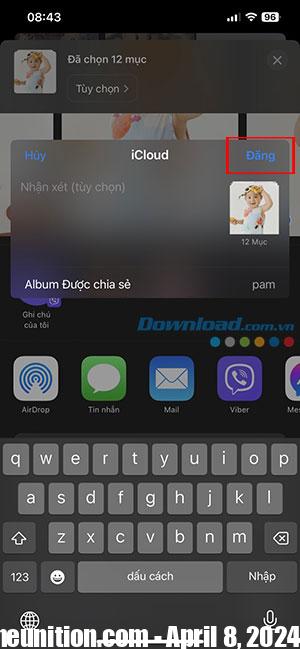
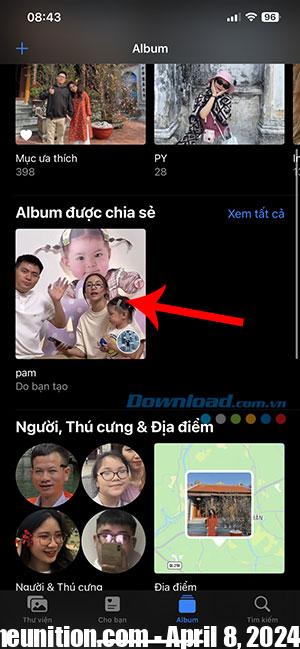
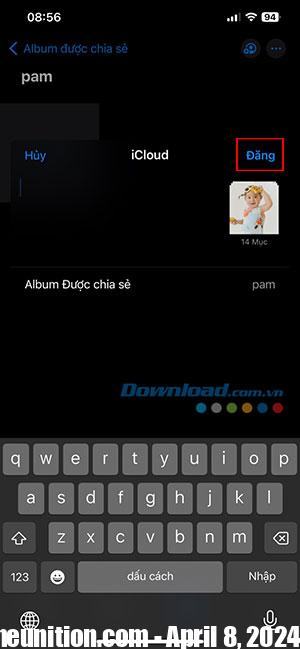
Step 4: Now people can add comments if they want and choose Post. Albums are shared in the Photos app on iPhone.
How to create a new Shared Album on iPhone
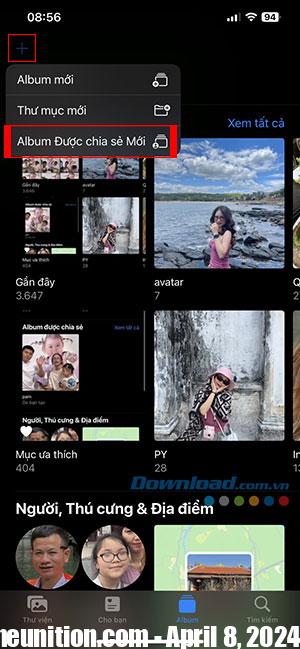
Step 1: Open the Photos app on iPhone and tap plus in the top left corner. Then choose New shared album.
Step 2: Perform Name and add recipients Similar to the previous part of the article.


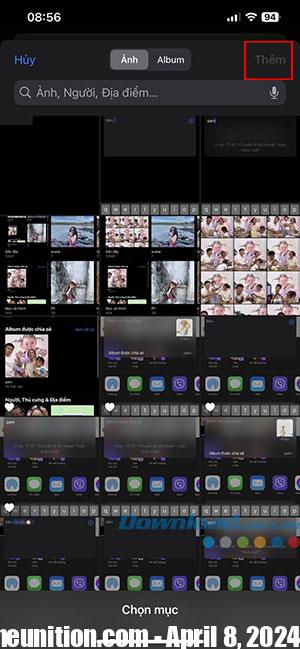
Step 3: Click plus to Select the photos and videos you want to add to the album. Then touch More. On the next screen, select Post and all selected photos and videos will be included in the shared album for others to see.
